What we learned last week …
We have learned to add a hyperlink using an ANCHOR tag –
<a href="url" title="title">link text</a>
Example:

<a href= "http://www.lds.org" title= "Go to the LDS.org home page">The Church of Jesus Christ of Latter-day Saints</a>
… and this week we learned …
In a separate presentation, we learned to add an IMAGE tag –
<img src="url" alt="some_text">
Example:
<img src= "http://www.prophetpaintings.com/ files/ 18001/ uploaded/AoG-Close-Lrg.jpg" alt= "AoG-Close-Lrg (460 x 575)">
Putting them together …
- Adding an IMAGE inside of an ANCHOR is simple.
- We will add an image to our website and include a hyperlink “under” the image
- In this instance, we will use an image that is NOT from the website, but the steps remain essentially the same
Note: For this presentation, we will assume that you are using NetBeans IDE 8.0 as your HTML editing software. Other similar applications may use a different layout.
Gather your ingredients …
Find an image you like and save it in the IMAGES directory for your project in NetBeans
Be sure to give it a unique title
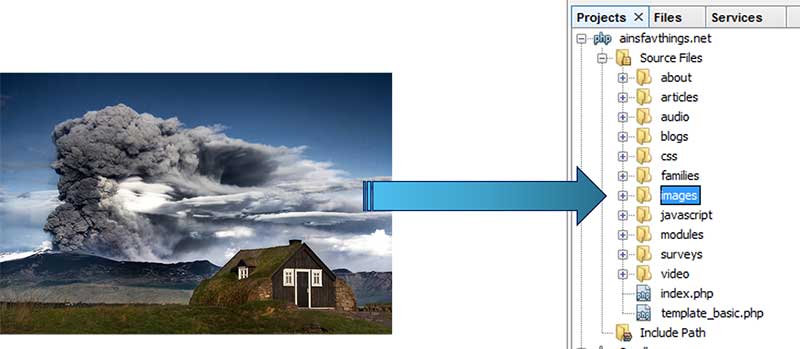
IMG_eyjafjallajokull_iceland.jpg
Add ingredients and stir …
Nest the image tag INSIDE the anchor tag
<a href="url" title="title">link text<img src="url" alt="some_text"></a>
Insert the href URL for the target web page and add the title and link text
<a href= "http://www.icelandinpictures.com" title= "Iceland In Pictures">See Iceland<img src="url" alt="some_text"></a>
Add the path to the image
<a href= "http://www.icelandinpictures.com" title= "Iceland In Pictures">See Iceland<img src= "/images/IMG_eyjafjallajokull_iceland.jpg" alt= "Eyjafjallajokull - Iceland"></a>
The Final Product …
More to Know …
- Sources for more information about using images as hyperlinks: